webshotパッケージで
Webをキャプチャ
Tokyo.R #62, Hijiyama.R #6
kazutan
自己紹介
- 比治山大学短期大学部
- @kazutan (Twitter, GitHub, Qiita)
- http://kz-md.net/
- http://blog.kz-md.net/
webshotパッケージとは
- RでWebページのスクリーンショットを撮影
- PhantomJSというアプリケーションを利用
- 公式ドキュメントがわかりやすい
- どこで使うの?
- 最近のR事情を考えるとわりと需要あり
- 今回はvignetteを中心に紹介
準備
webshotのインストール:
# CRANから
install.packages("webshot")
# GithHub版
devtools::install_github("wch/webshot")- 使用するマシンにPhantomJSが使える必要あり
- PhantomJS公式サイトからDL
- インストールして
PATHを通しておく
- 面倒だったら以下のコードを実行:
webshot::install_phantomjs()hello, webshot
library(webshot)
url <- "https://kazutan.github.io/kazutanR"
webshot(url, file = "pics/webshot_demo_01.png", delay = 0.5)- まずは記念撮影
- webshot関数にurlを引き渡せばOK:
webshot()関数について
Usage:
webshot(url = NULL, file = "webshot.png", vwidth = 992, vheight = 744,
  cliprect = NULL, selector = NULL, expand = NULL, delay = 0.2,
  zoom = 1, eval = NULL)
Arguments:
- 以前Kazutan.Rにまとめたので,そちらを参照
- https://kazutan.github.io/kazutanR/webshot_demo.html
webshotを使ってみる
cliprectを利用
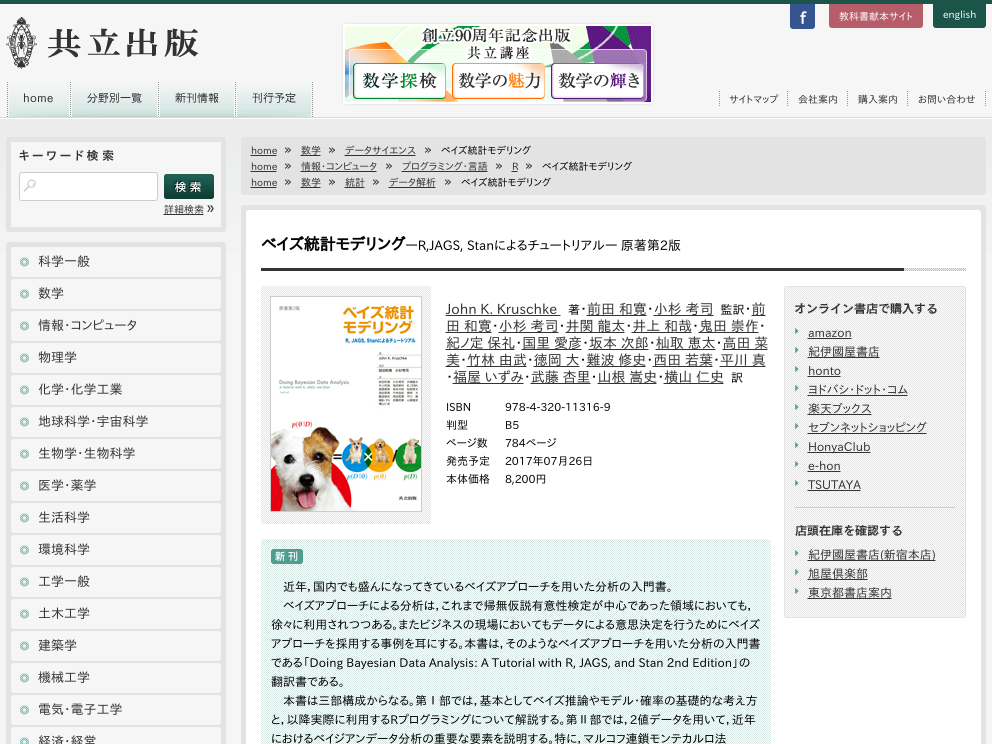
cliprect = "viewport"と指定すると,vwidthとvheightで指定したウィンドウサイズでスクリーンショットを撮影します:
url2 <- "http://www.kyoritsu-pub.co.jp/bookdetail/9784320113169"
webshot(url2, file = "pics/webshot_demo_02.png",
        cliprect = "viewport",
        vwidth = 800,
vheight = 600)また,cliprectを具体的な値で指定も可能:
webshot(url2, file = "pics/webshot_demo_03.png",
cliprect = c(200, 100, 300, 150))selectorを利用
セレクタを指定してみます:
webshot(url2, file = "pics/webshot_demo_04.png",
        selector = "article#bookDetailMain")
その他の関数について
resize()関数- 画像をリサイズ
- これを使用するためにはGraphicsMagickもしくはImageMagickが必要
- 詳しくは関数のヘルプ
?resizeを参照
shrink()関数- PNG画像のファイルサイズを縮小する関数
- これを使用するためにはoptipngが必要
- 詳しくは関数のヘルプ
?shrinkを参照
応用例
htmlwidgetsオブジェクトの画像化
library(dplyr)
library(leaflet)
library(htmlwidgets)

m <- leaflet() %>% addTiles() %>%
  addPopups(135, 35, "Popup!")

saveWidget(m, file = "leaflet2png.html")
webshot("leaflet2png.html",
        file = "pics/webshot_demo_05.png",
        delay = 2)
R MarkdownでWebページキャプチャをhtmlドキュメントに埋め込む
htmltoolsを応用してrevealjs用にサムネイル作成:
library(htmltools)
thumbnail <- function(title, img, href, caption = TRUE) {
  tags$div(class = "column1",
      tags$a(class = "thumbnail", title = title, href = href,
        tags$img(src = img),
        tags$div(class = ifelse(caption, "caption", ""),
          ifelse(caption, title, "")
        )
      )
  )
}
title <- c("原典", "日本語版")
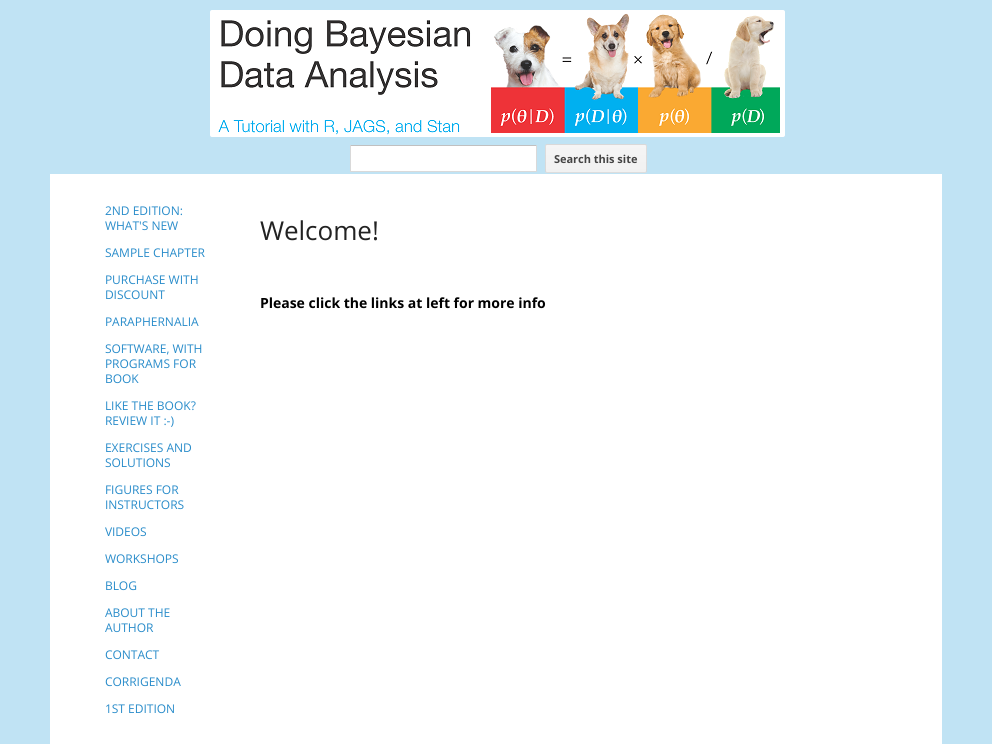
urls <- c("https://sites.google.com/site/doingbayesiandataanalysis/",
"http://www.kyoritsu-pub.co.jp/bookdetail/9784320113169")
imgs <- webshot(urls, file = "pics/thumb.png", cliprect = "viewport", delay = 1)
thumbs <- mapply(thumbnail, title = title, img = imgs, href = urls,
SIMPLIFY = FALSE, USE.NAMES = FALSE)
tags$div(class = "row", thumbs)実行するとこのような感じになります:
(cssは独自で調整済みです)
さいごに
以下の情報を参照してください。
- GitHubサイト
- READMEに基本的な使い方が書いてあります
- CRAN上のvignette
- サンプルが豊富にあります
- Webshotパッケージ - Kazutan.R
- 今回の内容をより詳しく説明しています

